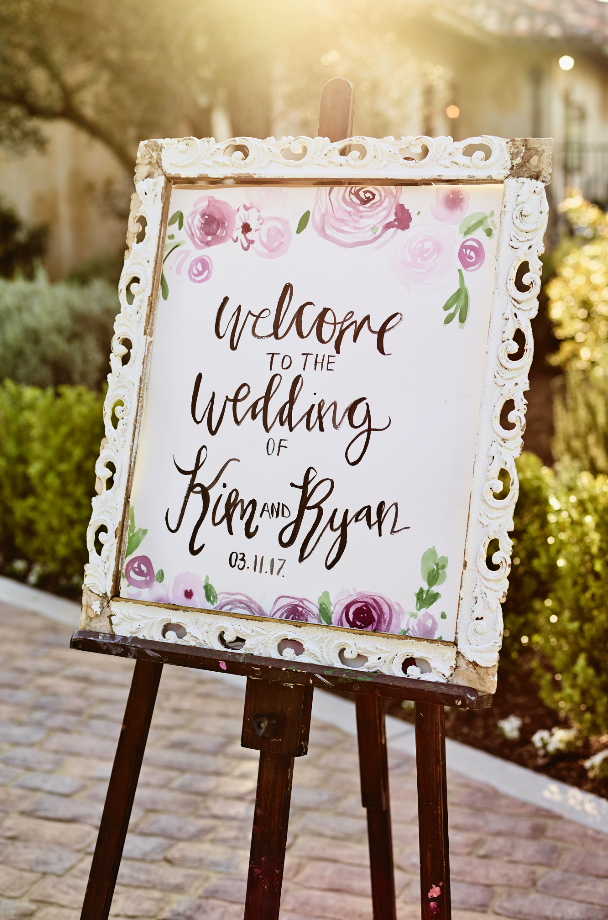
Bridal Shower Watercolor Roses and Peonies Welcome Sign by Ladyfolk Studio
i had been daydreaming about all the details of my wedding before I was even engaged. So when the man of my dreams popped the question I couldn't wait to start bringing my, er...our vision to life! Now that my wedding has come and past (4 months ago as of yesterday!) I am happy to offer my custom wedding art services to others.
I loved personalizing my wedding art and would love to help you have the same experience! I completely hand-painted both my bridal shower and wedding welcome signs with watercolor and picked the perfect accessories to adorn them. For my bridal shower sign, I added coordinating flowers to match my artwork and overall color scheme. For my wedding, I chose to use elements you could find in my studio as decor, which included artist easels and vintage frames I have collected from flea markets over the years.


My watercolor wedding signs have become a keepsake piece of art, something I will treasure as a reminder of that day forever. -Kmberly Heimbach
If you are interested in making these handmade elements a part of your special day please contact me here for a quote or review average pricing and details in the shop if you are ready to place an order. I have a small selection of vintage frames for sale/rent and also artist easels available for rent.
I would be happy to answer any questions you may have about wedding art and vintage accessories please email kimberly@ladyfolkstudio.com