Ladyfolk Studio

watercolor art and workshops

Art

A Dreamy Watercolor Welcome, Custom Art for your Special Day!

wedding, ArtKimberly HeimbachComment
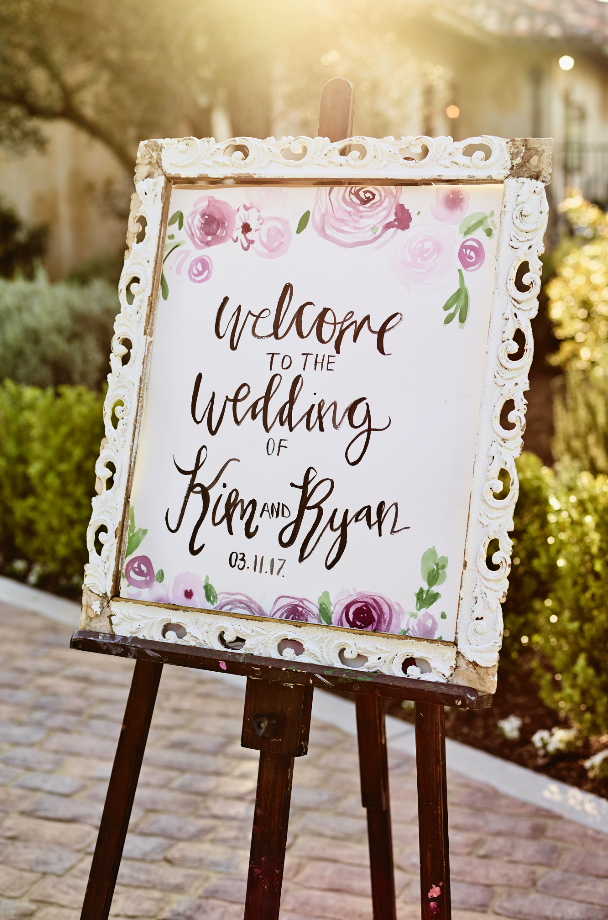
Bridal Shower Watercolor Roses and Peonies Welcome Sign by Ladyfolk Studio

Bridal Shower Watercolor Roses and Peonies Welcome Sign by Ladyfolk Studio

i had been daydreaming about all the details of my wedding before I was even engaged. So when the man of my dreams popped the question I couldn't wait to start bringing my, er...our vision to life! Now that my wedding has come and past (4 months ago as of yesterday!) I am happy to offer my custom wedding art services to others. 

I loved personalizing my wedding art and would love to help you have the same experience! I completely hand-painted both my bridal shower and wedding welcome signs with watercolor and picked the perfect accessories to adorn them. For my bridal shower sign, I added coordinating flowers to match my artwork and overall color scheme. For my wedding, I chose to use elements you could find in my studio as decor, which included artist easels and vintage frames I have collected from flea markets over the years. 

My watercolor wedding signs have become a keepsake piece of art, something I will treasure as a reminder of that day forever. -Kmberly Heimbach

If you are interested in making these handmade elements a part of your special day please contact me here for a quote or review average pricing and details in the shop if you are ready to place an order. I have a small selection of vintage frames for sale/rent and also artist easels available for rent.

I would be happy to answer any questions you may have about wedding art and vintage accessories please email kimberly@ladyfolkstudio.com
Yes Way Rosé, new print available in the shop!

Shopping, Art, HomeKimberly HeimbachComment

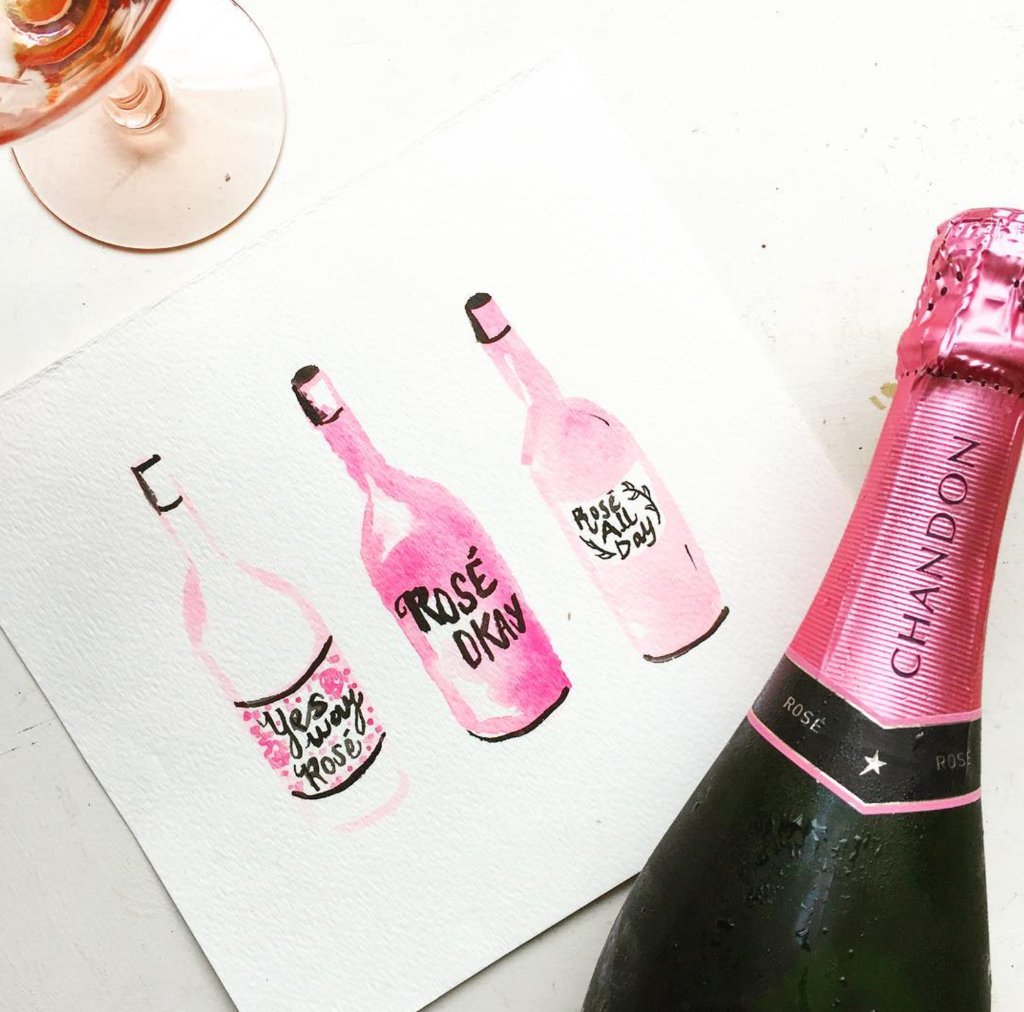
Summer time is all about the Rosé! Keep it chilled in your fridge or freeze it for some frozé, it's sure to delight either way!

You might have seen me post this original watercolor art on insta, and due to popular demand I have decided to offer it as a a print! The Yes Way Rosé is available framed or unframed, and I think it would be super cute by a styled bar cart.

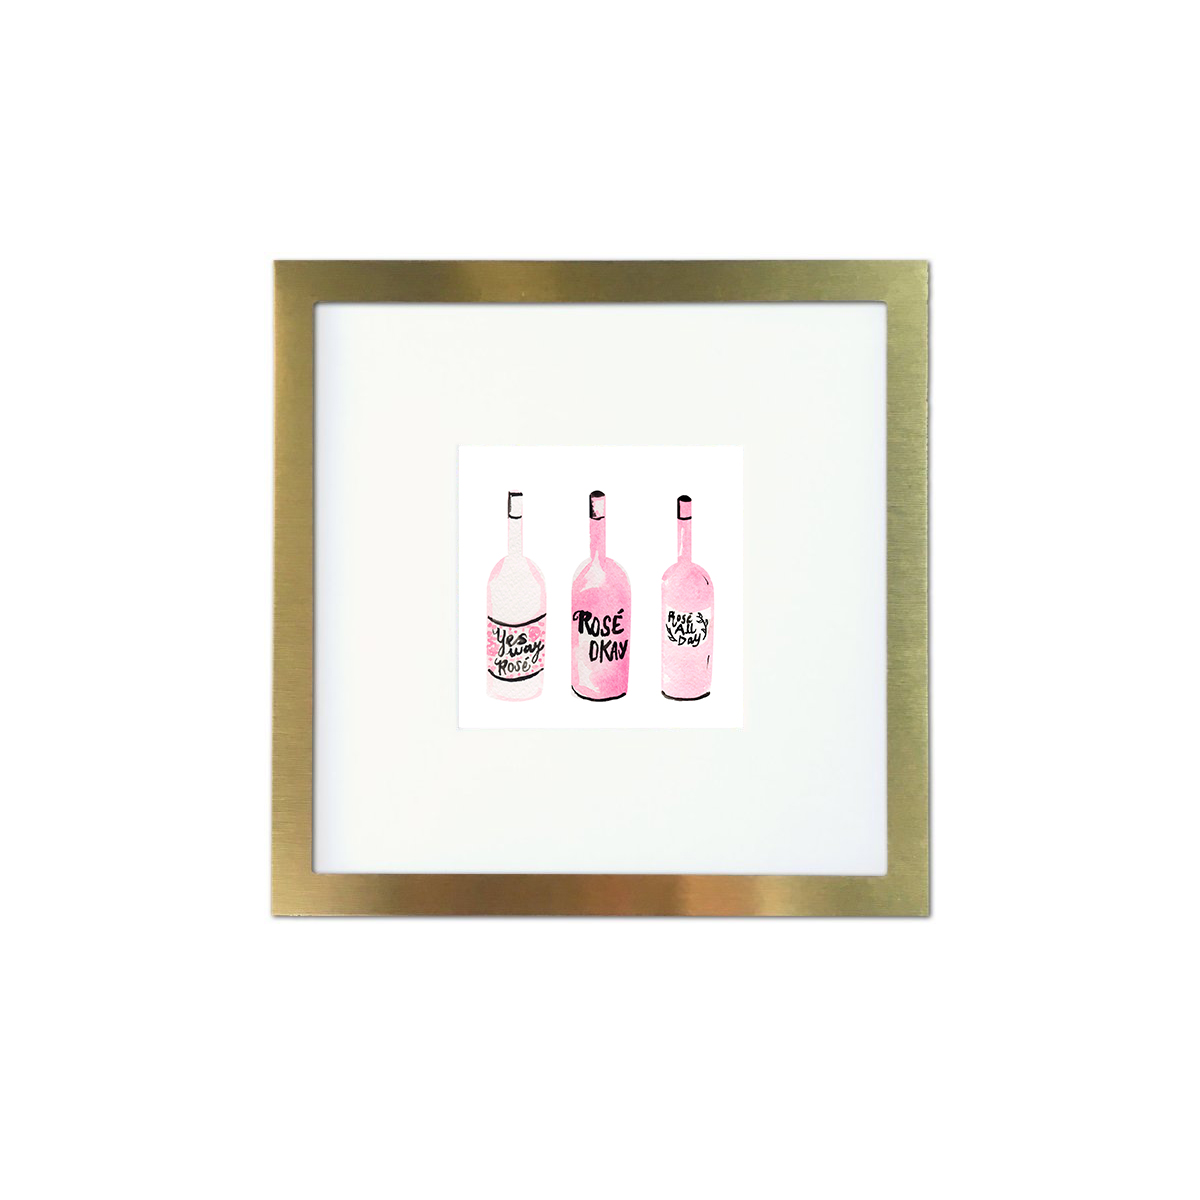
All about the options... Yes Way Rosé is available in a 4"x4" print with matte framed in brushed metal, 8"x8" framed in brushed metal with no matte or just order the print and frame yourself!

4"x4" matted and framed in brushed metal

4"x4" matted and framed in brushed metal

8"x8" framed in brushed metal

8"x8" framed in brushed metal

Stay tuned for more Rosé themed blog post coming this week! Including a recap of my private Roses and Rosé watercolor workshop for Sivan Ayla!


Watercolor Desktop Wallpaper Art, fun freebie!

Art, Watercolor WallpapersKimberly Heimbach2 Comments

May is here and I believe it is going to May-gical! 

I was inspired for this little series by daydreaming of the upcoming summer months and trips to the desert. A little post-Coachella nostalgia if you will. Blooming cacti, watercolor washes reminiscent of a sunset and pink pineapples, because why not?

This May I have a few inspiring plans including a trip to the Arizona desert to see Sedona for the first time and filling up a new travel watercolor sketchbook with on location plein air painting.

What are your plans for May? I would love to hear in the comments.

Click to enlarge each watercolor art and save them as your desktop background for your laptop, iPhone, or iPad. Maybe a different watercolor background for each device? Take your pick from the four I created and let me know in the comments which watercolor art you decided to download for your desktop. I am curious what you want to see more of? Leave any tips and I will try to paint it for the next watercolor desktop art freebie on the blog.

See magic! I'm sure your desktop is looking prettier now!

Please share which one you downloaded in the comments and your creative plans for May!

Stay inspired babes xo Kimberly

How-to-Style an Eclectic Art Gallery Wall

Art, Home, How-toKimberly HeimbachComment

If there is one thing I love most about having my own space it's definitely decorating!

...and If there is one thing i despise, it's looking at a blank wall. ugh. so un-inspiring! Whenever i visit an office or space with no art I always try to leave my card behind. Art uplifts us and can help to set an intentional mood for an environment.

Are you sick of your blank wall? Get ready to get creative with me! Today I'm sharing my tips for picking an eclectic assortment of items and hanging them up as a mini gallery wall no matter what space you have.

Q


Ok so here my five tips!

Short on wall space? The first tip #1 is to start with small art.  This could be postcards from travels, photos, small art, pressed flowers or a vintage frame. i have seen gallery shows dedicated specifically to small art. You can also try searching on Etsy or in the Ladyfolk Shop under "small art."

Tip #2 is to have an assortment or collection of items to choose from. Try out different frames, styles of art, shapes and sizes to really mix it up. This can be something fun to think about if you are not already an art collector. When you hear "art collector" you might think of stuffy old man in a suit with money but oh how stereotypes can mislead us! You don't have to be a millionaire to purchase art. Which brings us to...

Tip #3 is to purchase art from friends, local artists/students, or on Etsy. There is endless price ranges and subject matter depending on where you search. Keep your eye out, you might find something at a local pop-up shop or market like Bloom (which is tomorrow in Costa Mesa FYI). You can also check out a preview of small art and vintage frames currently available for purchase in my online shop below...

The next tip #4 is to think outside the art "box." You could easily have a variety of items around your home to frame. Postcards from travels? Handwritten notes? A leaf from the front yard? The front of a card you received? Get creative with items you hold onto which might not be displayed currently.

Tip #5 is to create a harmonious color palette. I usually go monochromatic or pick 3 to 4 colors. You will see at the end of this post what I ended up going with. 

gallery-wall-1.jpg

My Easy Step-by-Step for Hanging your Eclectic Gallery Wall

First, the tools will you need include a level, screw driver and nails or drywall screws. I love this handy pink toolbox I use for everything around the house and studio.

  1. Measure the height and of the wall space you will be using.

  2. Layout your art on the floor to fit inside this measurement. I used a piece of fabric to block out my allotted space and tried several arrangements.

  3. Pick a focal point piece to arrange the smaller art around, mine was the seashell mirror.

  4. One-by-one take your art from the floor to the wall. Start from the center focal point piece you picked out and measure out equal spacing horizontally as you hang each piece. All my spacing between art ended up measuring two inches.

  5. Mark your spot for the nail with a pencil while visually placing your art before screwing in the nail. It might be helpful to have a friend help at this point.

  6. Place the art you just made a pencil mark for aside, and screw in your nail to the wall.

  7. Hang the piece, check with a level and repeat steps 1 through 6 for the rest of your art!


Ta-da! I hope this inspired you to create your own mini gallery wall!

You can see the assortment i chose is a mix of different styles, frames and items including a taxidermy of a moth from South Africa! By using a rose gold frame, a white frame and a piece with red/gold on each side of the mirror helped to balance the composition visually. You will notice a harmonious color theme i intentionally set with similar rose, green, red and gold tones. This will probably all switch up next month. Keeping the frames consistent and switching out the art inside of them is an easy way to mix it up monthly or seasonally.

Please share how you find art or create your own inspiring space in the comments!