Ladyfolk

How-to

A Cinco De Mayo D.I.Y. Project!

How-to, D.I.Y.Kimberly HeimbachComment

Cinco de Mayo, although one of the smaller holidays celebrated in Mexico, it is a huge celebration in the states for Mexican culture and heritage. In America this holiday has become synonymous with Margaritas, tacos and party sombreros!

History lesson for today: Cinco de Mayo officially celebrates the date of the Mexican army’s 1862 victory over France at the Battle of Puebla during the Franco-Mexican War (1861-1867). 

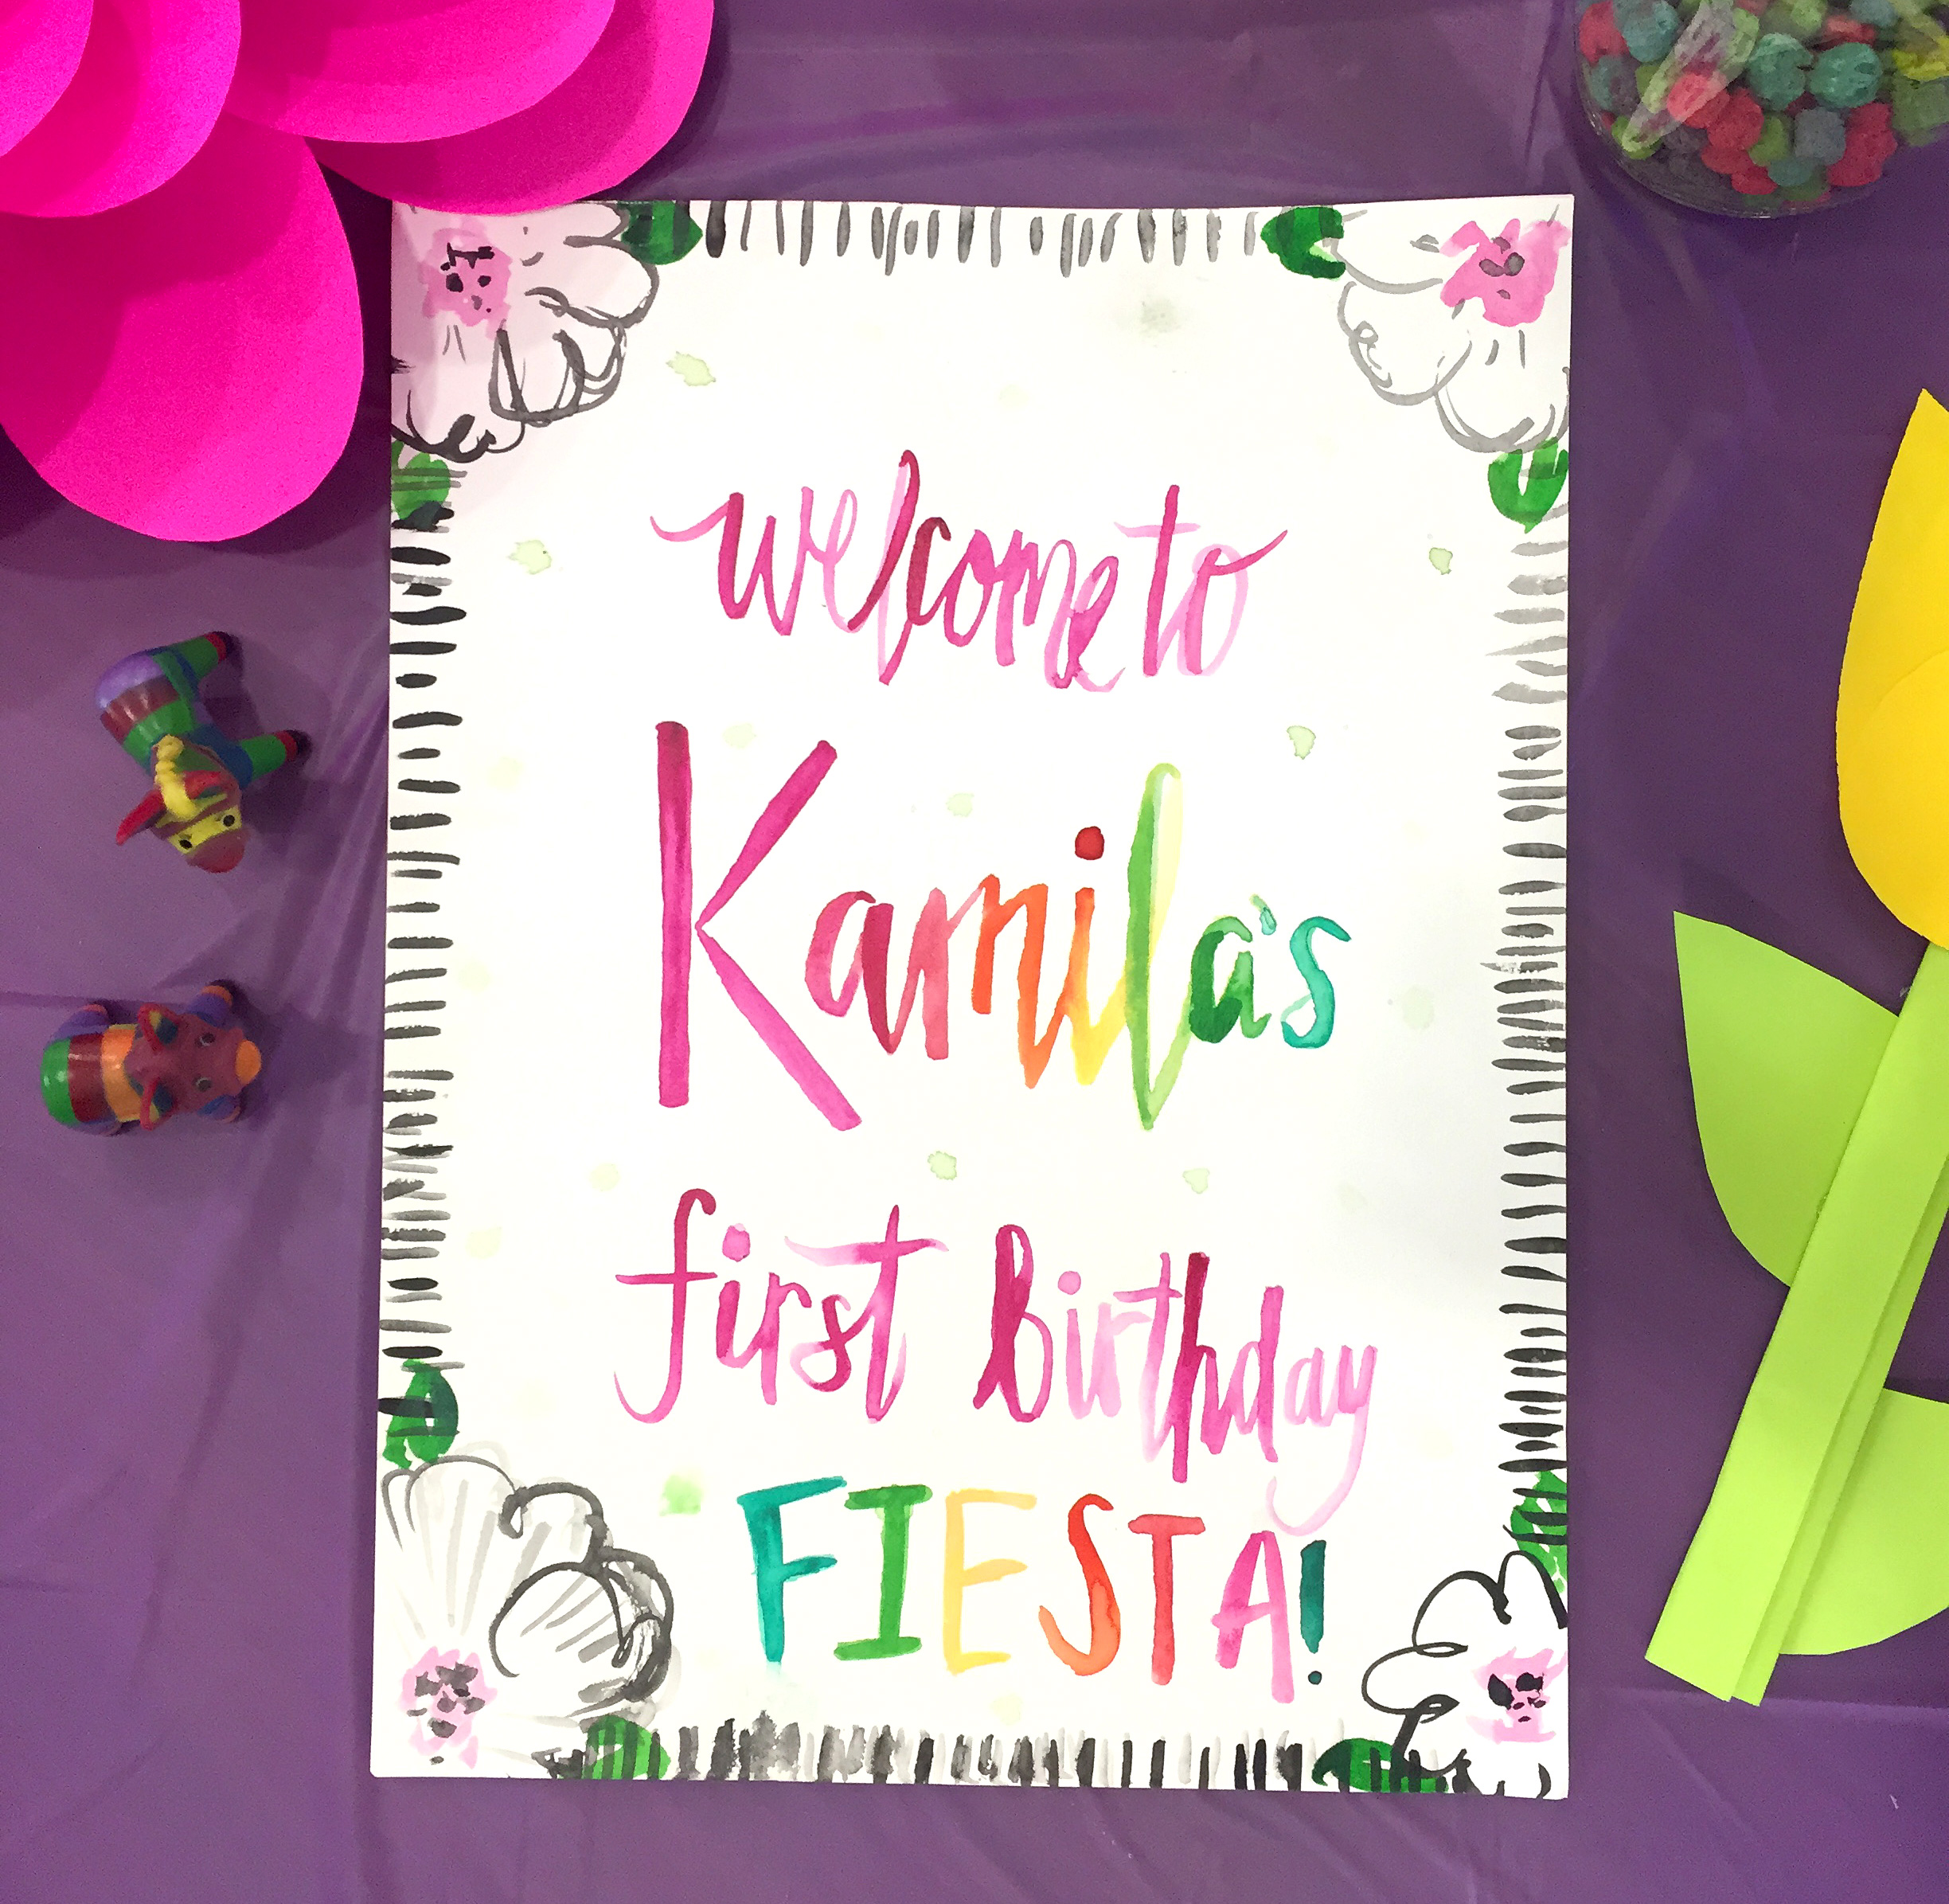
A few weeks back I was commissioned to create a fun taco bar sign and fiesta welcome sign for a one-year-old's birthday. I was only asked to paint the watercolor sign but if you know me I had to take it a step further. You see I had all these fun poms poms in the studio just begging to get used!

This is a really easy Cinco de Mayo themed DIY project you can put together yourself or with the help of your kids. You only need a few items that can be easily ordered on Amazon. Side note: Anyone else an avid amazon prime member? Literally the best. thing. ever. If I come with a project idea it's so great that I can order the items and get them the next day. I usually throw a few other add-on items too, like dog food for Mr.Bailey or this blueberry coffee I wanted to try. Below are the items you will need to complete this project; pom poms, glue gun (I want this cordless one now!), glue sticks and a couple frames.

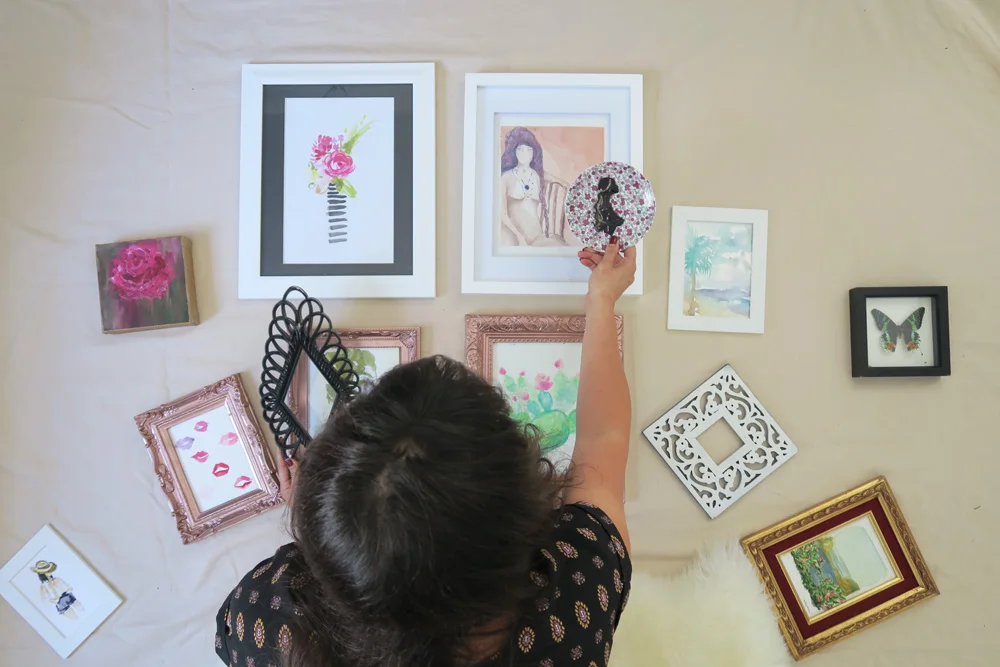
This DIY Cinco de Mayo project is so easy it doesn't even need more than 3 steps! Basically just prep your work area, pre-heat your glue gun, cover the art in your frame and get gluing those pom poms. See below for more tips and a video!


Cinco de Mayo D.I.Y. Project Steps

  1. Prep your work area, I used a masonite board to work on but it could just be a your kitchen table covered by newspaper just make sure you have a non-melting surface to pre-heat the glue gun on.
  2. Cover the art opening of your frame. I had an extra clear plastic cover on mine which you can't see in the video but make sure you don't miss this step. This is incase any glue happens to get on your artwork you can just remove the extra cover. You could use pretty much anything to protect the opening, foil or paper would work too.
  3. Keep all your pom poms near by and act quickly to glue them. It doesn't require much glue to stick to the frame, basically just one dot per pom pom. I suggest putting the glue on the frame not the pom pom, then press the pom into the frame to secure and hold for a second.
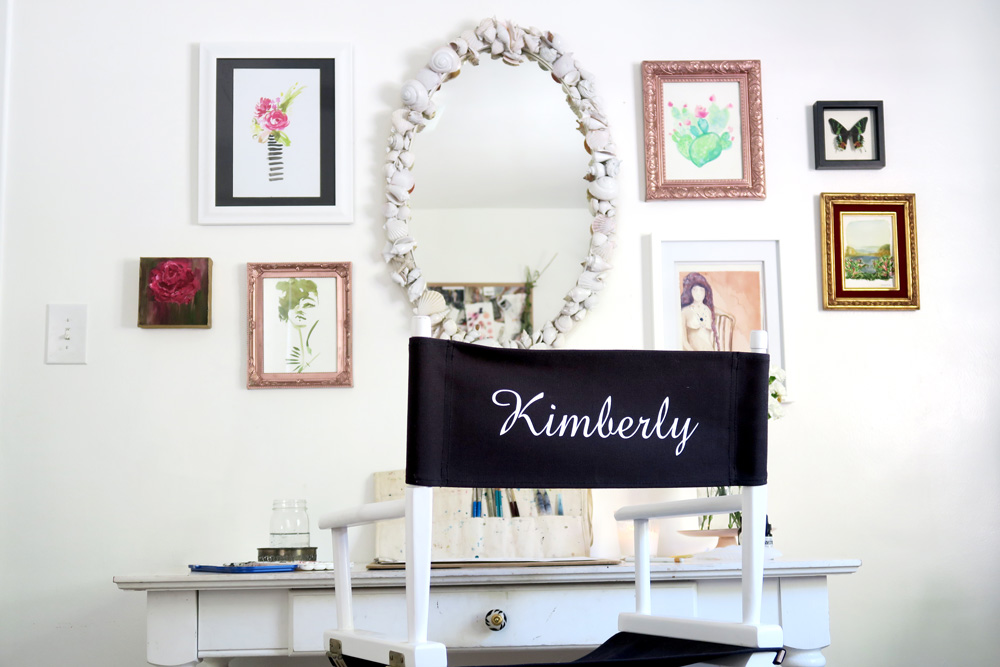
Taco 'bout cute!

Love how adorable my sign came out for the photos at this one year old's birthday fiesta!

taco-bout-a-party-sign

Follow Ladyfolk Studio on YouTube, more video content coming soon!

The birthday fiesta turned out so cute, LOVE the cake the one year old's mom made so I had to share! I also painted a custom watercolor welcome sign you can see below for the fiesta theme. If you are interested in custom signage for your party I offer a variety of items in the shop or you can contact me here for a custom request.

custom-watercolor-fiesta-signs

Hope this Cinco de Mayo D.I.Y. and fiesta theme inspired you to get creative and have a taco or two! So tell me, what are your fiesta plans for Cinco de Mayo? Share in the comments!

Sundays are for Vintage Shopping, Antique Flea Market Tips & Tricks

How-to, ShoppingKimberly HeimbachComment

If you are anything like me, you love vintage shopping, especially the Sunday flea markets! Even if I don't buy anything, I just love the hunt and discover old treasures. The Long Beach Antique Flea Market is definitely my local favorite but every now and then I make my way up to the larger Rosebowl Flea market.

If you don't live in the Southern California area, I found a new tool for you to find markets! Introducing the most nifty online Flea & Farmers Market guide. This is not sponsored, just sharing a resource where you can literally find two of my favorite weekend activities, flea and farmers markets! It makes it super easy to search by state and they are constantly updating it with new markets. Considered this your localized list of indoor and outdoor events to scope out the best markets in your neighborhood for the weekend (or weekday!). Side note: San Francisco area, I recommend the Alameda Antique Market. but here is complete list of the Flea Markets in California. Once you find a market you can put to use my tips below, that I have managed to learn over time as an avid flea market shopper...

Long Beach Antique Flea Market shopping

#1 FINDING TREASURES

Having in mind what you are looking for will help you immensely.

Searching through flea markets can be overwhelming, the crowds, the heat and the surplus of items. I always keep an open mind if I see something not on my list, but I usually try to stick to it. That way I don't end up buying items I don't need. Currently, I am looking for more items to incorporate into the still life's in my watercolor workshops. My current list is: vintage frames, small vases, succulents and old books.

Sunday Long Beach Antique Flea Market

#2 TRANSPORTATION

Free your arms and opt for a rolling cart.

I would atleast suggest having a large durable bag to hold your treasures. Even better than a bag would be a rolling cart. This makes it much easier for transporting plants and other large items you don't want flipping over in your bag. It also relives some stress on your arms, park it up and shop each booth. Also, bring a measuring tape if you are buying larger items. You will need to measure inside your car beforehand, if that is where the item is going. That way you can know when you find your treasure if it will fit. Some vendors do offer delivery of items, so don't hesitate to ask.

#3 ENJOY

Find a hidden one dollar treasure.

I never liked to feel rushed when I am shopping. That is why I always try to arrive to the flea market early. Don't fret if not, some of the best deals happen later in the day when vendors don't want to pack things up. Yet be aware, most of the "good stuff" goes quickly in the morning to the collectors. The search is the most thrilling part and I will usually atleast find a $1 item to bring home. I do try to enjoy myself even if I go home empty handed. Grab a drink (most markets i have attended serve beer!) and get a kick out of the vendors eclectic collections from times past.

Long Beach Antique Flea Market shopping

Below are a few items that will be useful when shopping the market. A cart for your goods, a cute list making notepad, and don't forget travel water to stay hydrated:) 

How-to-Style an Eclectic Art Gallery Wall

Art, Home, How-toKimberly HeimbachComment

If there is one thing I love most about having my own space it's definitely decorating!

...and If there is one thing i despise, it's looking at a blank wall. ugh. so un-inspiring! Whenever i visit an office or space with no art I always try to leave my card behind. Art uplifts us and can help to set an intentional mood for an environment.

Are you sick of your blank wall? Get ready to get creative with me! Today I'm sharing my tips for picking an eclectic assortment of items and hanging them up as a mini gallery wall no matter what space you have.

Q


Ok so here my five tips!

Short on wall space? The first tip #1 is to start with small art.  This could be postcards from travels, photos, small art, pressed flowers or a vintage frame. i have seen gallery shows dedicated specifically to small art. You can also try searching on Etsy or in the Ladyfolk Shop under "small art."

Tip #2 is to have an assortment or collection of items to choose from. Try out different frames, styles of art, shapes and sizes to really mix it up. This can be something fun to think about if you are not already an art collector. When you hear "art collector" you might think of stuffy old man in a suit with money but oh how stereotypes can mislead us! You don't have to be a millionaire to purchase art. Which brings us to...

Tip #3 is to purchase art from friends, local artists/students, or on Etsy. There is endless price ranges and subject matter depending on where you search. Keep your eye out, you might find something at a local pop-up shop or market like Bloom (which is tomorrow in Costa Mesa FYI). You can also check out a preview of small art and vintage frames currently available for purchase in my online shop below...

The next tip #4 is to think outside the art "box." You could easily have a variety of items around your home to frame. Postcards from travels? Handwritten notes? A leaf from the front yard? The front of a card you received? Get creative with items you hold onto which might not be displayed currently.

Tip #5 is to create a harmonious color palette. I usually go monochromatic or pick 3 to 4 colors. You will see at the end of this post what I ended up going with. 

gallery-wall-1.jpg

My Easy Step-by-Step for Hanging your Eclectic Gallery Wall

First, the tools will you need include a level, screw driver and nails or drywall screws. I love this handy pink toolbox I use for everything around the house and studio.

  1. Measure the height and of the wall space you will be using.

  2. Layout your art on the floor to fit inside this measurement. I used a piece of fabric to block out my allotted space and tried several arrangements.

  3. Pick a focal point piece to arrange the smaller art around, mine was the seashell mirror.

  4. One-by-one take your art from the floor to the wall. Start from the center focal point piece you picked out and measure out equal spacing horizontally as you hang each piece. All my spacing between art ended up measuring two inches.

  5. Mark your spot for the nail with a pencil while visually placing your art before screwing in the nail. It might be helpful to have a friend help at this point.

  6. Place the art you just made a pencil mark for aside, and screw in your nail to the wall.

  7. Hang the piece, check with a level and repeat steps 1 through 6 for the rest of your art!


Ta-da! I hope this inspired you to create your own mini gallery wall!

You can see the assortment i chose is a mix of different styles, frames and items including a taxidermy of a moth from South Africa! By using a rose gold frame, a white frame and a piece with red/gold on each side of the mirror helped to balance the composition visually. You will notice a harmonious color theme i intentionally set with similar rose, green, red and gold tones. This will probably all switch up next month. Keeping the frames consistent and switching out the art inside of them is an easy way to mix it up monthly or seasonally.

Please share how you find art or create your own inspiring space in the comments!